Students will discover that everyday objects can be used to create art. Students will explore this by dipping or rolling found objects in paint and using them to make marks, creating unique patterns and textures. After being introduced to the lesson and viewing examples, students will be encouraged to think of new ways to use these various objects in their art making process. Students will also be able to create their own paper which they will later use as a cover for a books comprised of their artworks created throughout the class.
Key Concepts: Texture, Pattern, Unique use of materials
Essential Understandings:
1.) Artists transform everyday materials to make art.
2.) Pattern and texture can be formed many different ways.
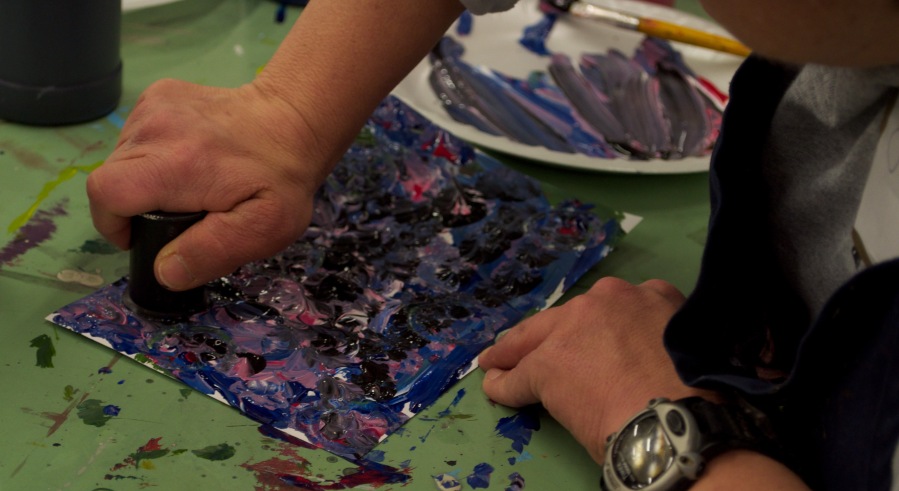
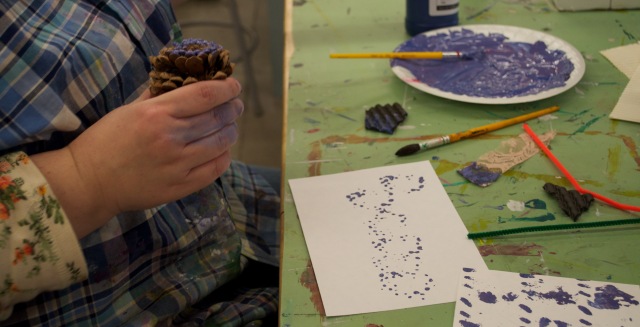
There was one paper making station and four texture and pattern stations. Each station had a box filled with various materials such as string, buttons, beads, spools, sponges, pine cones, etc. Students began playing with these different materials and were encouraged to discover the unique patterns and textures they could create. Some students focused on creating texture through painting with the objects and others focused on dipping and stamping. Once they felt satisfied with their work they went over to the paper station and learned how to create a piece of their own paper. By the end of class every student had made a piece of paper and had explored the various ways in which objects can create texture and pattern. After everyone helped clean up we came back together as a group and shared our discoveries.
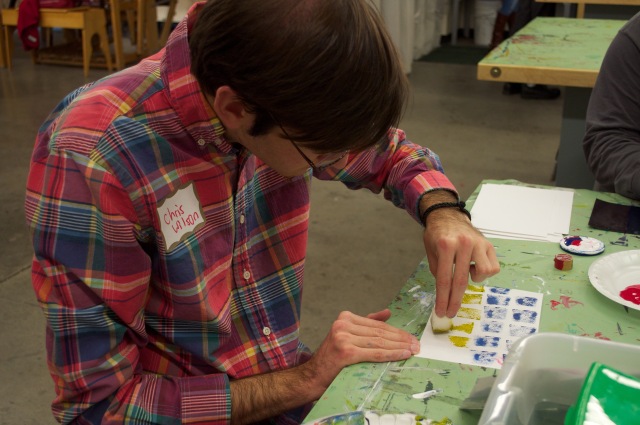
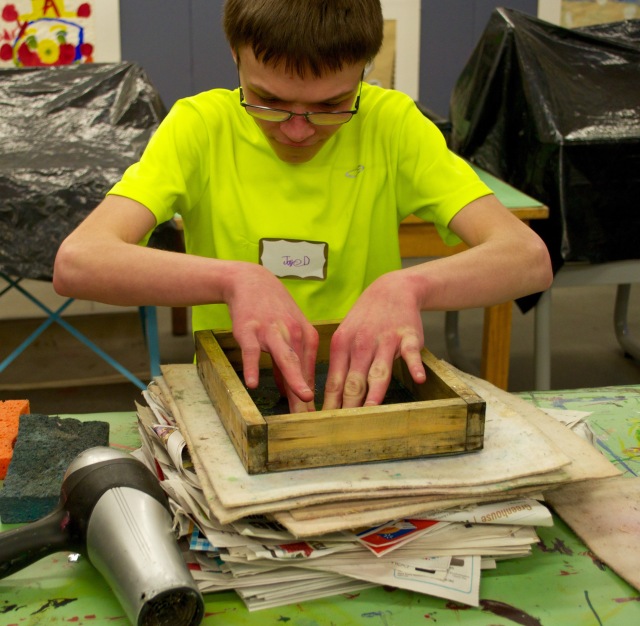
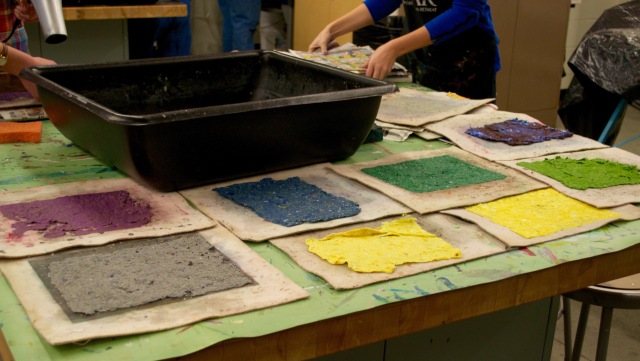
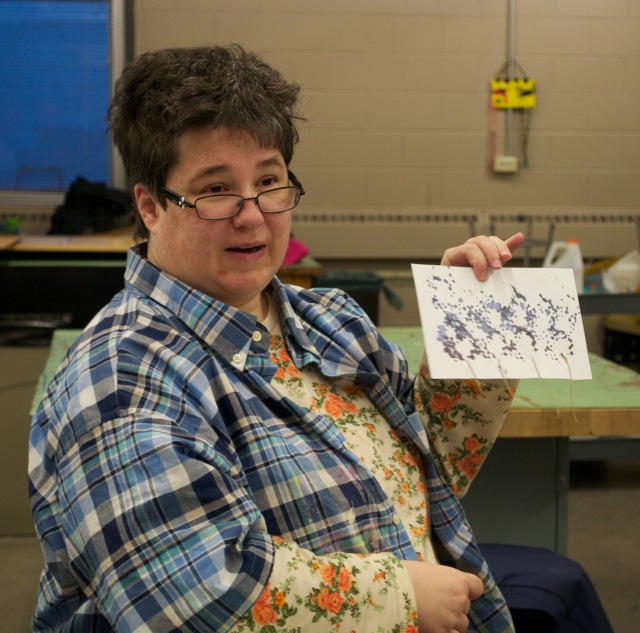
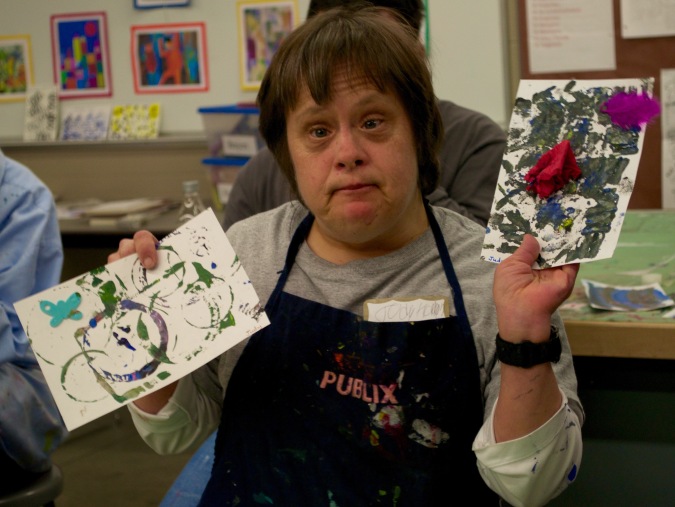
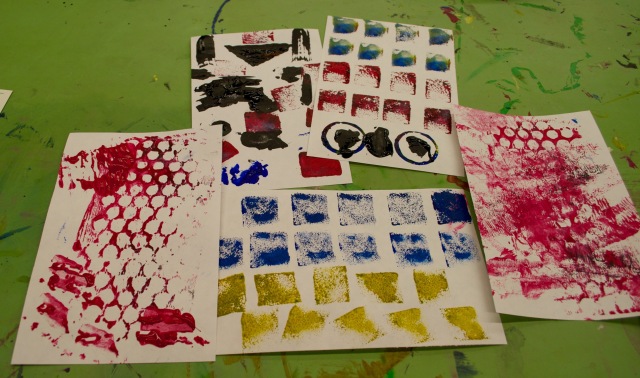
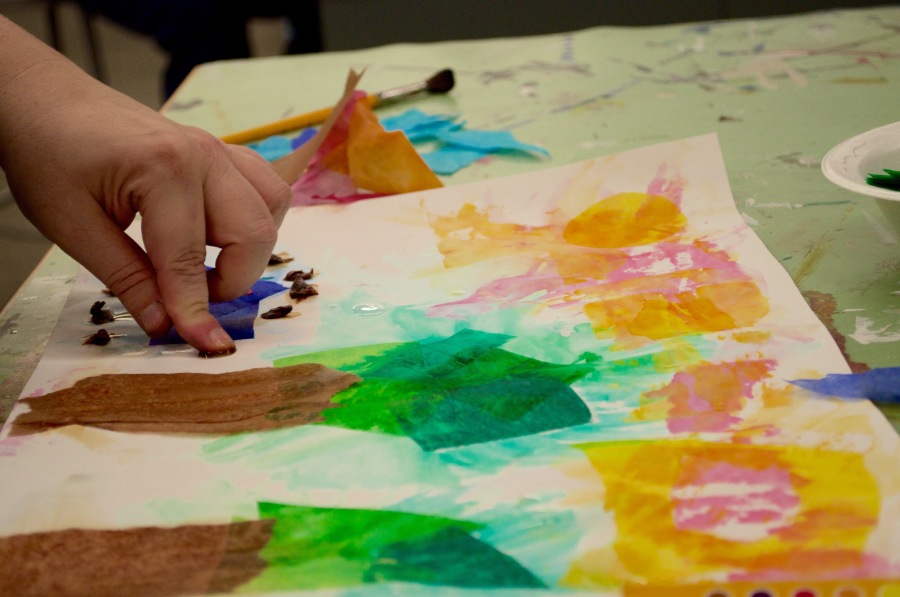
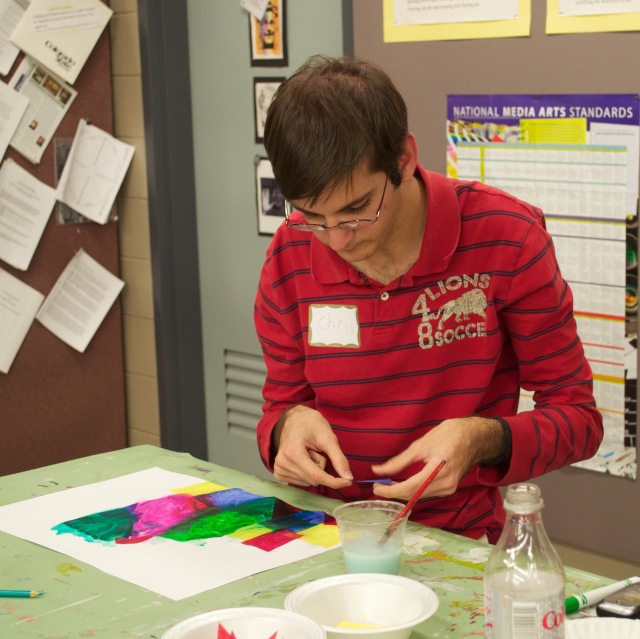
Christopher made multiple exploration pages using sponges and color. He found that patterns can be made by repeating shapes or colors.Jared pressing down on his paper to remove excess water.Some of the completed paper from the paper making station. Ashlee really enjoyed this station and was continuously helping other students with their paper.Heidi said, “let’s see what happens when I do this!” while exploring that pattern can be made with pinecones. After a few printings she realized that they looked like flowers.Heidi presenting one of her explorations. She used a pinecone to print multiple patterns along with adding different shades of purple. She decided they looked like flowers and used pine needles to create stems for her final piece.Judy made two cards for her mom and grandmother. Both times she worked with green. Besides just printing objects she also added brush strokes and glued some of the found objects. On the left card she used one of the object containers to print, it can be seen as the large rectangle. Some of the finished exploration cards. The center three are Christopher’s were he continuously explore sponge printing along with how color and the amount of paint can change the print.
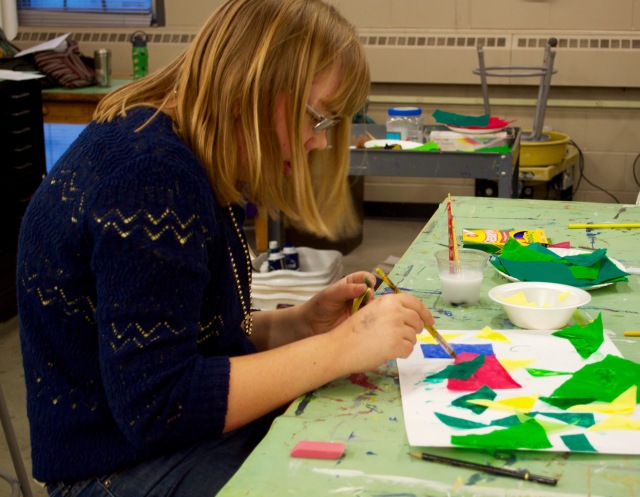
Students will learn how to create artist trading cards through marbling and collage, and understand that part of the beauty of making art is that it can be shared with others. After introducing the lesson with a short demonstration on marbling and collage, as well as skit about trading the cards, students and teachers will break up into small groups. Two tables were set up with collage materials and two tables were set up with marbling materials. The students chose where they wanted to start and began exploring the materials. The teachers at the marbling station gave another demonstration and worked along with the students. Everyone seemed to be very excited about the marbling because it was new and exciting, and through this process they learned how mixing different colors and swirls in the shaving cream produced different results. When working with collage students cut out images in magazines and collaged them together on paper. Through collage students were able to create unique compositions and color schemes. Some students even mixed the mediums by collaging on top of their marble design, demonstrating their creative ability to mix mediums without being told to do so. At the end of the lesson everyone was excited to share their cards with each other, and received great joy from sharing and receiving unique artworks.
1.) Part of the joy of creating art is that it can be shared with others.
2.) Unconventional materials such as shaving cream mixed with acrylic paint can create unique and exciting outcomes. More conventional materials such as magazine collage can also create unique outcomes through the choice of composition and colors chosen to create the collage.
Skills: Collaboration, Invention, Composition, Connecting with Community
Summary:
We started the class by asking student if they have and use trading cards, most answered yes and had prior knowledge about cards like Pokemon and Magic the Gathering. We had a new student named Tyler who had a lot more knowledge about Artist Trading Cards, he even held up a deck of cards that he had made with his own characters. We explained to the class what information is needed on a trading card and did a skit of us trading with each other. We introduced two new techniques they could use, marbling and collage. People broke up into tables according to what technique they wanted to try out first. The class was evenly divided between the two stations.
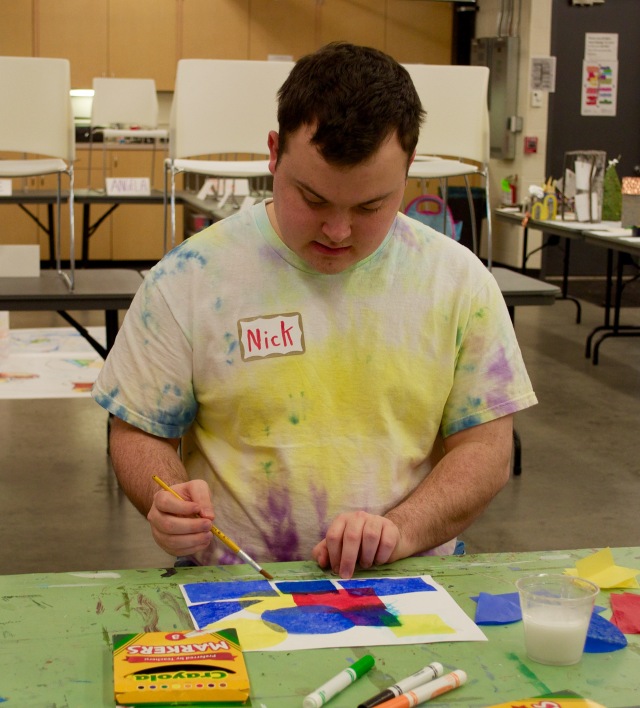
Nick seemed to really enjoy color mixing. In his tub he spent the whole class mixing various browns, oranges, and yellows. He even exclaimed, ” I am making Mahogany.” He continues to show an advanced understanding on color theory. Another student that continued working on past explored compositions is Kelsey. She made one card with and image and continued her fascination with intricate patterns and colors. Zachary and his Paraprofessionals really enjoyed marbling, he would laugh and smile when his hands touched the shaving cream. Multiple students were having realization of how collage and marbling could be used to create smaller compositions. Some students focused on a theme, while others made individual works.
At the end of making the cards everyone participated in a light clean up, and then began trading cards. Some students like, Ashlee decided to spread her cards out on the table for everyone to see. Other students like Christopher felt more comfortable walking around and see who they wanted to trade with. Everyone walked away with new cards, some decided to trade all of their cards, so they could collect multiple artist trading cards.
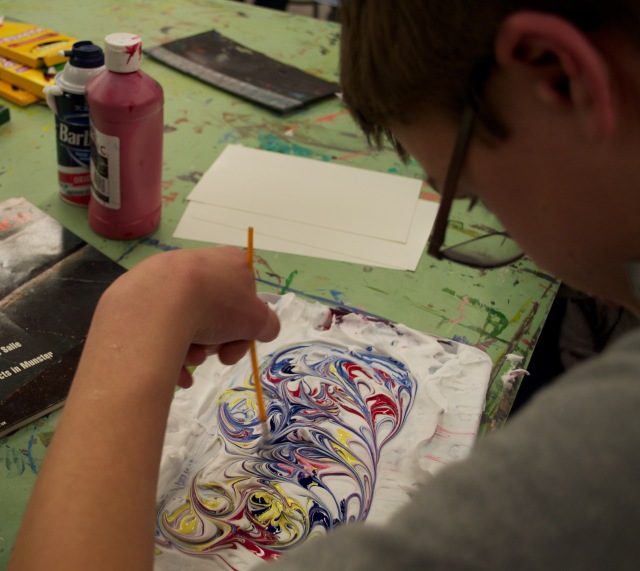
Nick worked on multiple prints from one tub, after every printing he slightly changed some of the colors. Nick focused mostly on earth tones in this series demonstrating his clear understanding of color theory and mixing.
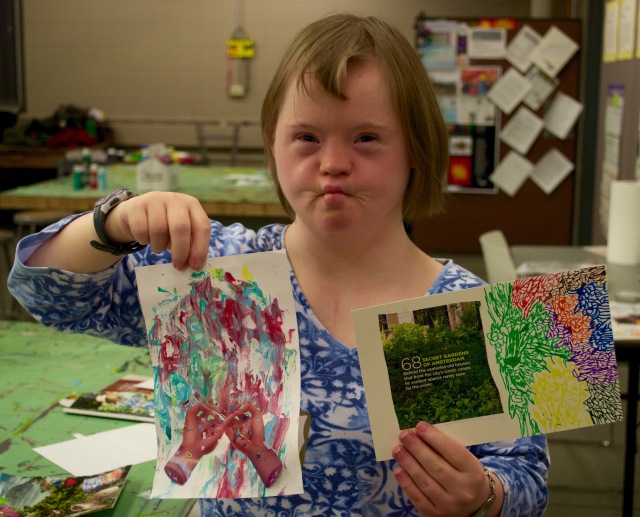
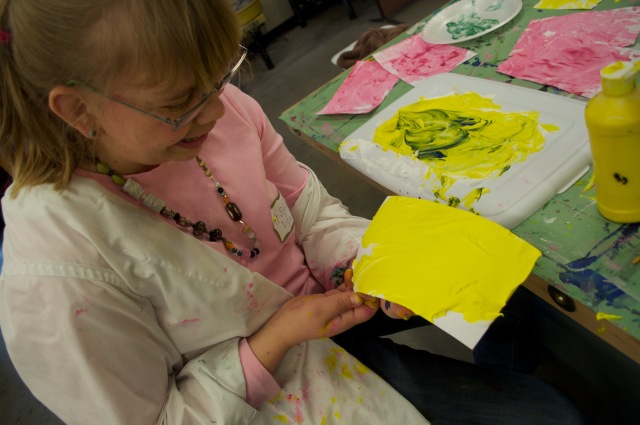
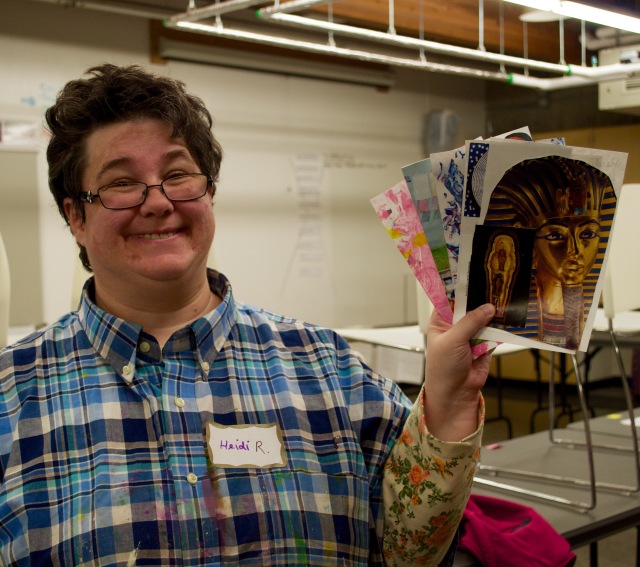
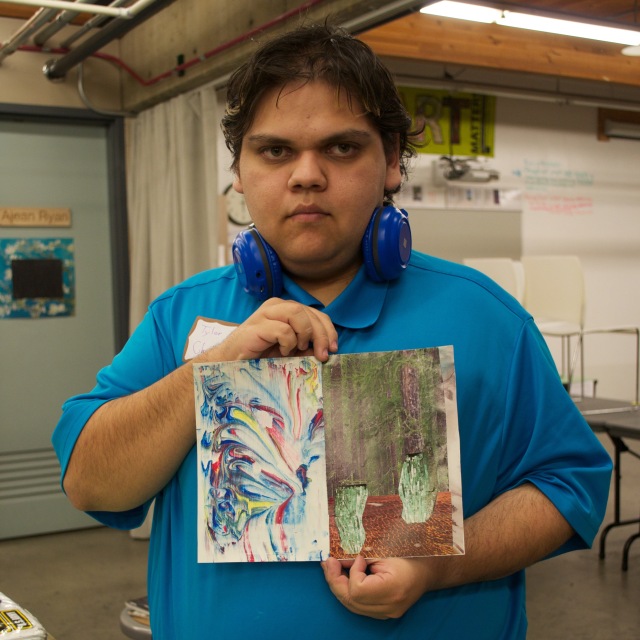
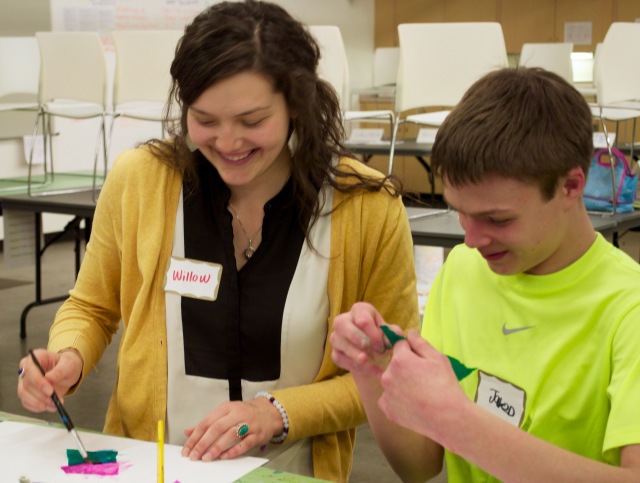
Taken near the end of class. Kelsey is holding up a new card ( left) and the card she traded for it (right). Her own card shows her continued exploration of patterns utilizing lines and colors.Jared continued to work individually with Willow, he enjoyed mixing the colors but did not like getting shaving cream or paint on himself. He seemed more interested in creating swirls than printing them on paper. After printing a couple pieces of paper, he continued to swirl the colors until they mixed all together. He said, “Look, they turned green!”Ashlee focused her time solely on making marbling cards. She made multiple series only featuring one color. Inspired by the recent celebration of Valentine’s day, her first series focused on the color pink. She is pictured here showing her yellow series. She also printed green marbled cards.Heidi holding up the cards she ended up with at the end of class. The front Egyptian theme was her own design. Heidi divided her time in class between marbling and collage. As she was making this card she would teach her table information about King Tut while she cut out images from an article about his artifacts. She strategically placed a smaller picture of a sarcophagus to cover words that were on the front cover of the magazine. Heidi also made realizations during marbling, she stated, ” If you mix the shaving cream a lot and push the colors down your print will have more of a solid color, but if you only mix a little bit you get a really strong marble effect. “Tyler holding up a new traded card (left) and his own collage (right). Since he already understood how to make and how to use artist trading cards, Tyler focused on creating environments for his dragons with his collage pieces. This card shows the environment for a dragon that lives in a forested area. The dragons are “fed” through large crystals that energize them. This demonstrates an advanced understanding of the way visual imagery can be manipulated to fit the aesthetic desires of the artist. Very impressive Tyler!
Students will learn that small pieces of work can be combined to make larger, more complex compositions, illustrating that each unique individual class member is a part of a larger whole. Students will also explore new media in the form of colored tissue paper, which can be used as a sophisticated artistic medium. Tissue paper can be collaged, overlapped, and manipulated to create new colors and texture. The dye used to color tissue paper also bleeds when exposed to water and thus, can be used as a painting medium or method for stamping and creating repetitious forms. Students will be shown examples of color overlay and color mixing. A demonstration of the many uses for tissue paper will be given and afterward, students will be encouraged to experiment with the medium for themselves. After they have gotten the chance to practice and feel comfortable with the new medium, students will create a final composition utilizing their favorite techniques.
Key Concepts: Color, Shape, Collage, Manipulation of Tissue Paper, Composition.
Essential Understandings:
1.) Similar to the way we make connections on a communal level, art can be used to build relationships. Unique, individual pieces can be combined to create larger, more complex works of art.
2.) It is important to explore and experiment with different mediums to discover their full range of use. Materials have diversity and can do many things, whether previously known to the creator or discovered through exploration. Tissue paper, for example, can be used to create unique compositions through a number of techniques.
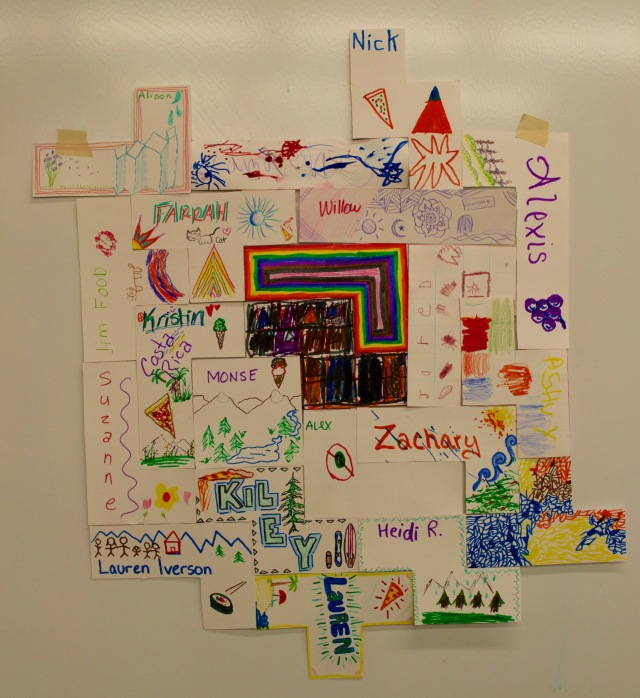
In today’s class everyone got to know a little bit about one another through our “people puzzle,” project. Every class member and teacher decorated a piece of paper (in the shape of a Tetris piece) with our names and drawings of our favorite foods and favorite places. Following this, we presented our blocks to the rest of the class and then taped them together to form a complete “puzzle.” Next, the teachers demonstrated the various ways to use and manipulate tissue paper. We then let students play with the materials to explore the different ways in which they could be manipulated. Finally, students created a composition using the newly introduced techniques.
“I’m going to make something I can take with me to the game this week. I’m a ‘basketball girl.’ Go Rams!” – Ashley consciously combines yellow and green pieces of tissue paper to create a composition which displays her support of the girl’s basketball team.
Nick had prior knowledge of color theory. He recognized that overlapping the paper would create secondary colors. He spent his time creating new colors. Individualized Tetris piece by each student and teacher.Willow and Jared exploring tissue paper.Kelsey began this pattern on her Tetris piece, she was focused on intricate patterns. She did the exploration of tissue paper, but decided on creating more patterns for her final piece.
“I never knew you could do all this with tissue paper! I really like the way the colors mix when you put them next to each other. I can create secondary colors by mixing the primaries together.” – Christopher explores the way the tissue paper interacts with water/glue mixture, enjoying the way the colors bleed and blend.